



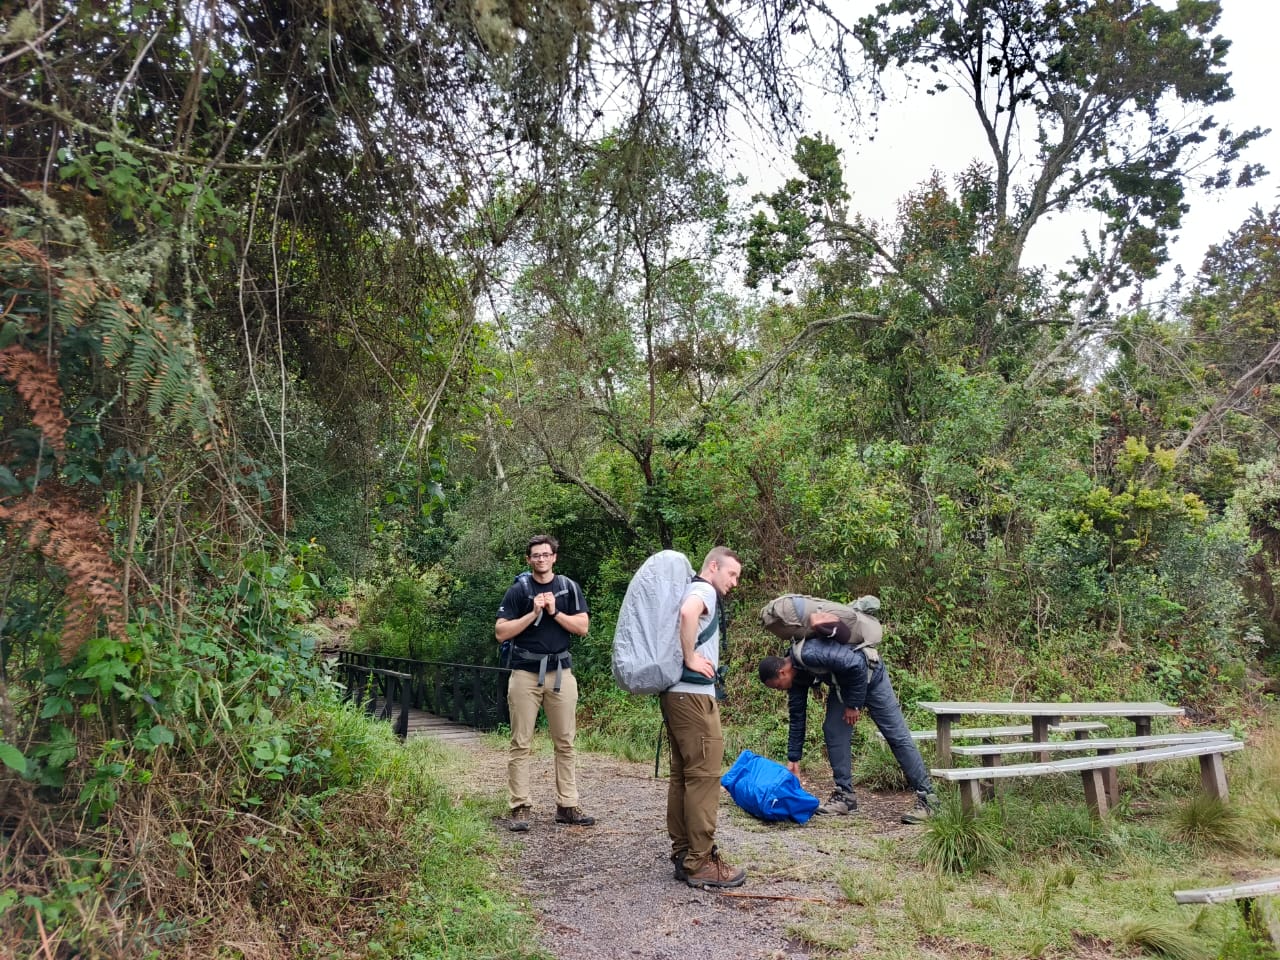
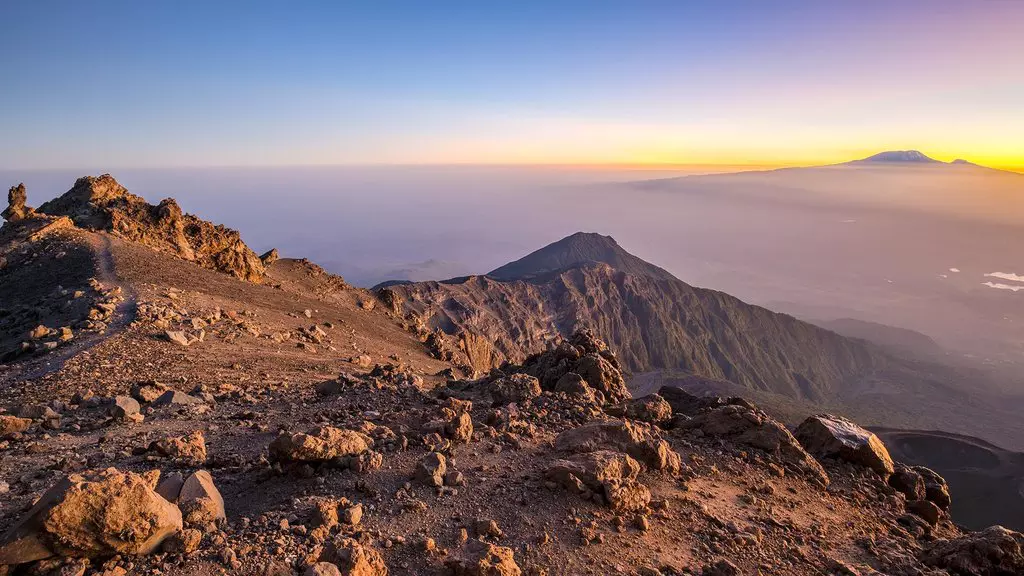
The Lemosho route
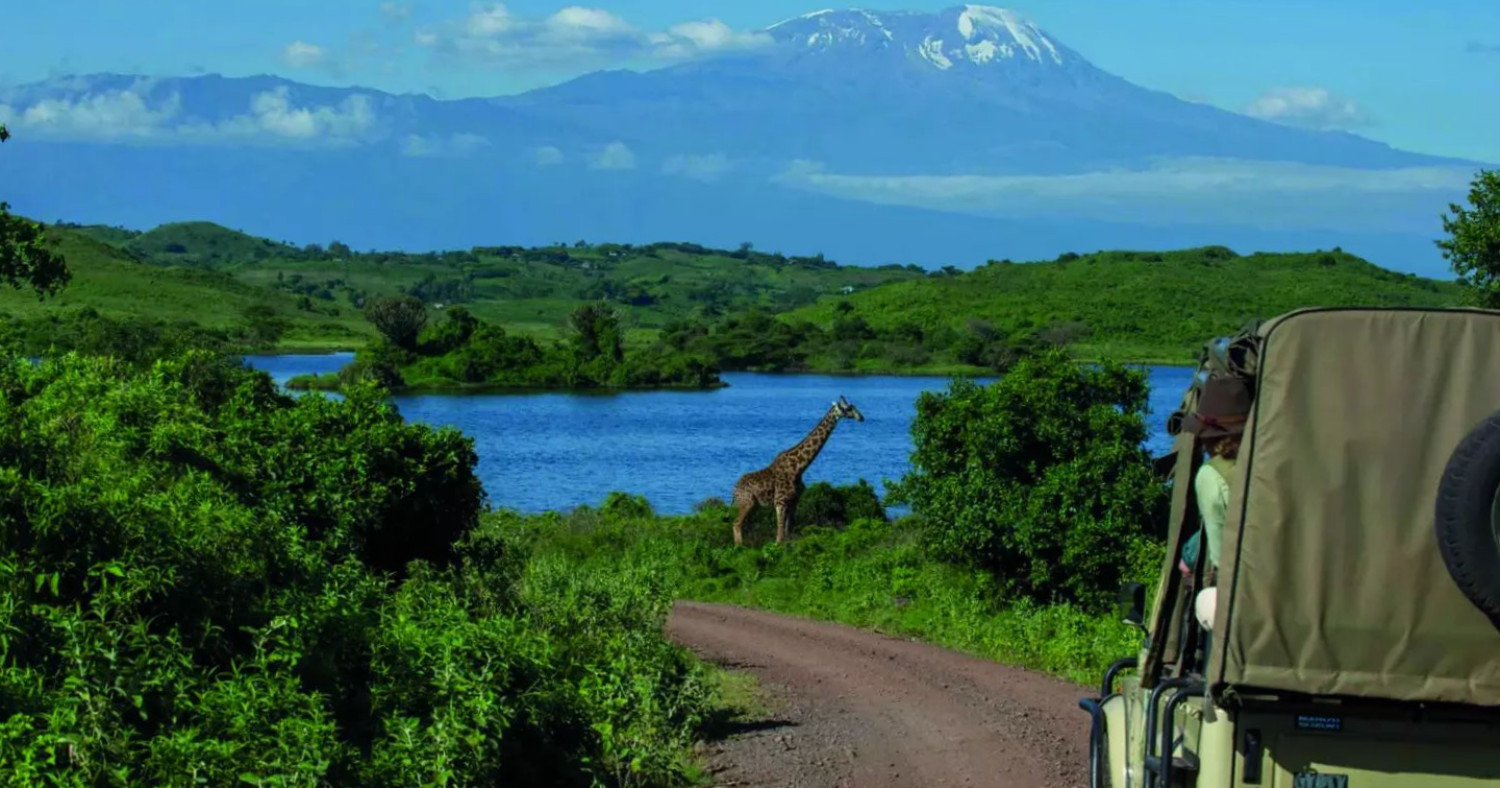
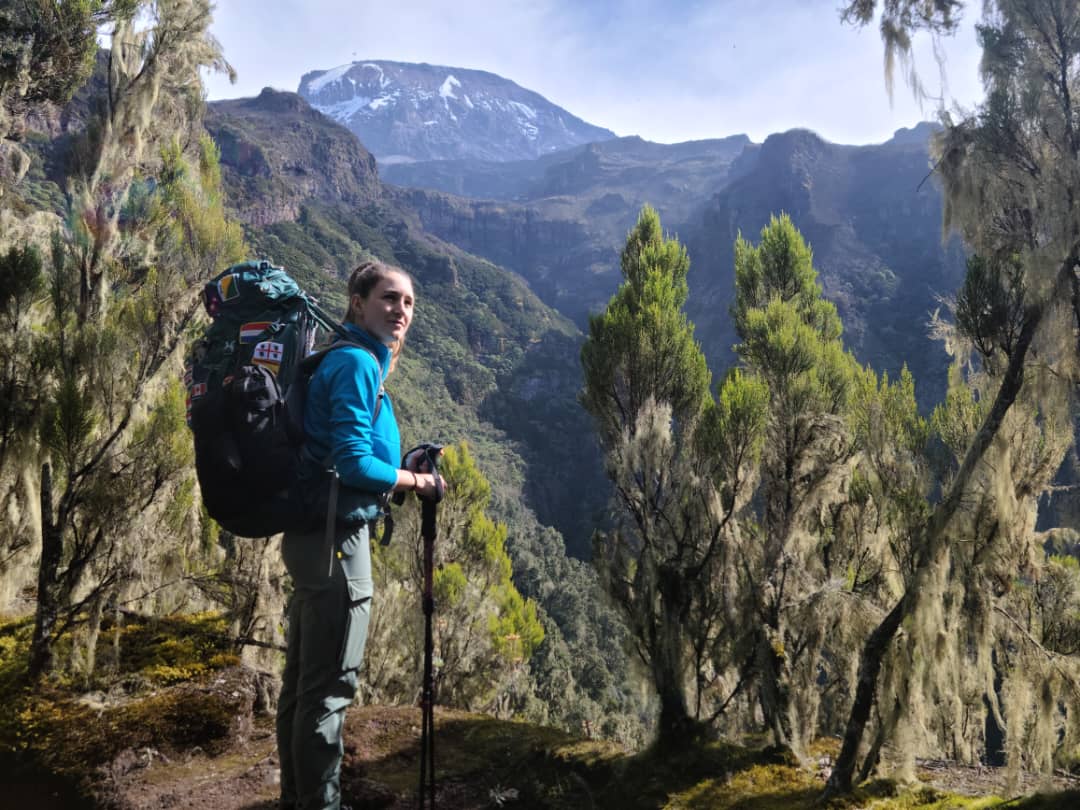
Kilimanjaro’s most beautiful start: the quiet western rainforest and the whole width of the Shira Plateau. We run it two ways, as the standard Lemosho route and as TK Lemosho, our own variation round the quiet northern side of the mountain.
The standard route joins Machame beyond Shira 2 and summits from Barafu. TK Lemosho heads north from Shira 1 to Moir Hut instead, follows the northern circuit around Kibo and summits from School Hut, away from the busy southern camps.
- 64.7–66.4 kmGate to gate
- 7 to 10 daysOn the mountain
- 2,385 mLemosho Gate
- MwekaDescent route
Two ways to climb Lemosho
Both start at Lemosho Gate, climb through the forest and reach Shira 1 on day two. On day three they part: the standard route heads east to Shira 2, TK Lemosho north to Moir Hut.
The standard Lemosho route
Lemosho is rightly admired for its first two days, through the quiet forest of the western side and onto the Shira Plateau. Then, by design, it joins the Machame route, and from the Lava Tower onwards the two share the same camps, the same timings and the same queues, just as the altitude starts to bite.
It also inherits Machame’s hidden cost. The long day to the Lava Tower helps acclimatisation but comes close to the summit bid, and between Barranco and Barafu the trail crosses a series of steep spurs into the Karanga Valley: our GPS track shows around 340 m of descent, all of which must be climbed again before Barafu. That happens the day before the summit, exactly when climbers most need to save their strength.
TK Lemosho, our own variation
TK Lemosho keeps everything that makes Lemosho special, then heads north to Moir Hut where the standard route turns towards Machame. It follows the quiet northern side of the mountain with a climb-high, sleep-low day, and approaches the summit from School Hut, with no wasted height on the way.
Acclimatisation always has to be balanced against the stamina you will need for summit night. TK Lemosho gains the acclimatisation on gentler northern ground and rises steadily to high camp, so you start summit night with your strength intact.
| Route | Gate to gate | Days | From day three | Climb high, sleep low | Height lost and climbed again | Last camp | Summit approach | Crowding | Descent |
|---|---|---|---|---|---|---|---|---|---|
| TK LemoshoTK route | 66.4 km | 7 to 10 | The quiet northern circuit | About 400 m, Moir Hut to Pofu | None | School Hut4,715 m | From School Hut, on the quiet north-east side | Quiet throughout | Mweka |
| Lemosho | 64.7 km | 7 or 8 | Joins Machame after Shira 2 | 670 m at the Lava TowerClose to the summit bid | About 340 mThe day before summit night | Barafu4,673 m | Stella Point, from Barafu | Quiet for two days, then Machame’s camps | Mweka |
Swipe sideways to see every column. Tap i for more detail.
The shape of the route
Drawn from our own GPS tracks. Choose a route to see its profile.
- Lemosho Gate2,385 m
- Big Tree2,790 m
- Shira 13,495 m
- Moir Hut4,160 m
- Pofu3,990 m
- Third Cave3,940 m
- School Hut4,715 m
- Uhuru Peak5,895 m
- Millennium3,800 m
- Mweka Gate1,645 m
- Lemosho Gate2,385 m
- Big Tree2,790 m
- Shira 13,495 m
- Fischer’s Camp3,935 m
- Moir Hut4,160 m
- Pofu3,990 m
- Third Cave3,940 m
- School Hut4,715 m
- Uhuru Peak5,895 m
- Millennium3,800 m
- Mweka Gate1,645 m
- Lemosho Gate2,385 m
- Big Tree2,790 m
- Shira 13,495 m
- Fischer’s Camp3,935 m
- Moir Hut4,160 m
- Pofu3,990 m
- Third Cave3,940 m
- Mawenzi Tarn4,300 m
- School Hut4,715 m
- Uhuru Peak5,895 m
- Millennium3,800 m
- Mweka Gate1,645 m
- Lemosho Gate2,385 m
- Big Tree2,790 m
- Shira 13,495 m
- Shira 23,890 m
- Lava Tower4,645 m
- Barranco3,975 m
- Karanga4,035 m
- Barafu4,673 m
- Uhuru Peak5,895 m
- Millennium3,800 m
- Mweka Gate1,645 m
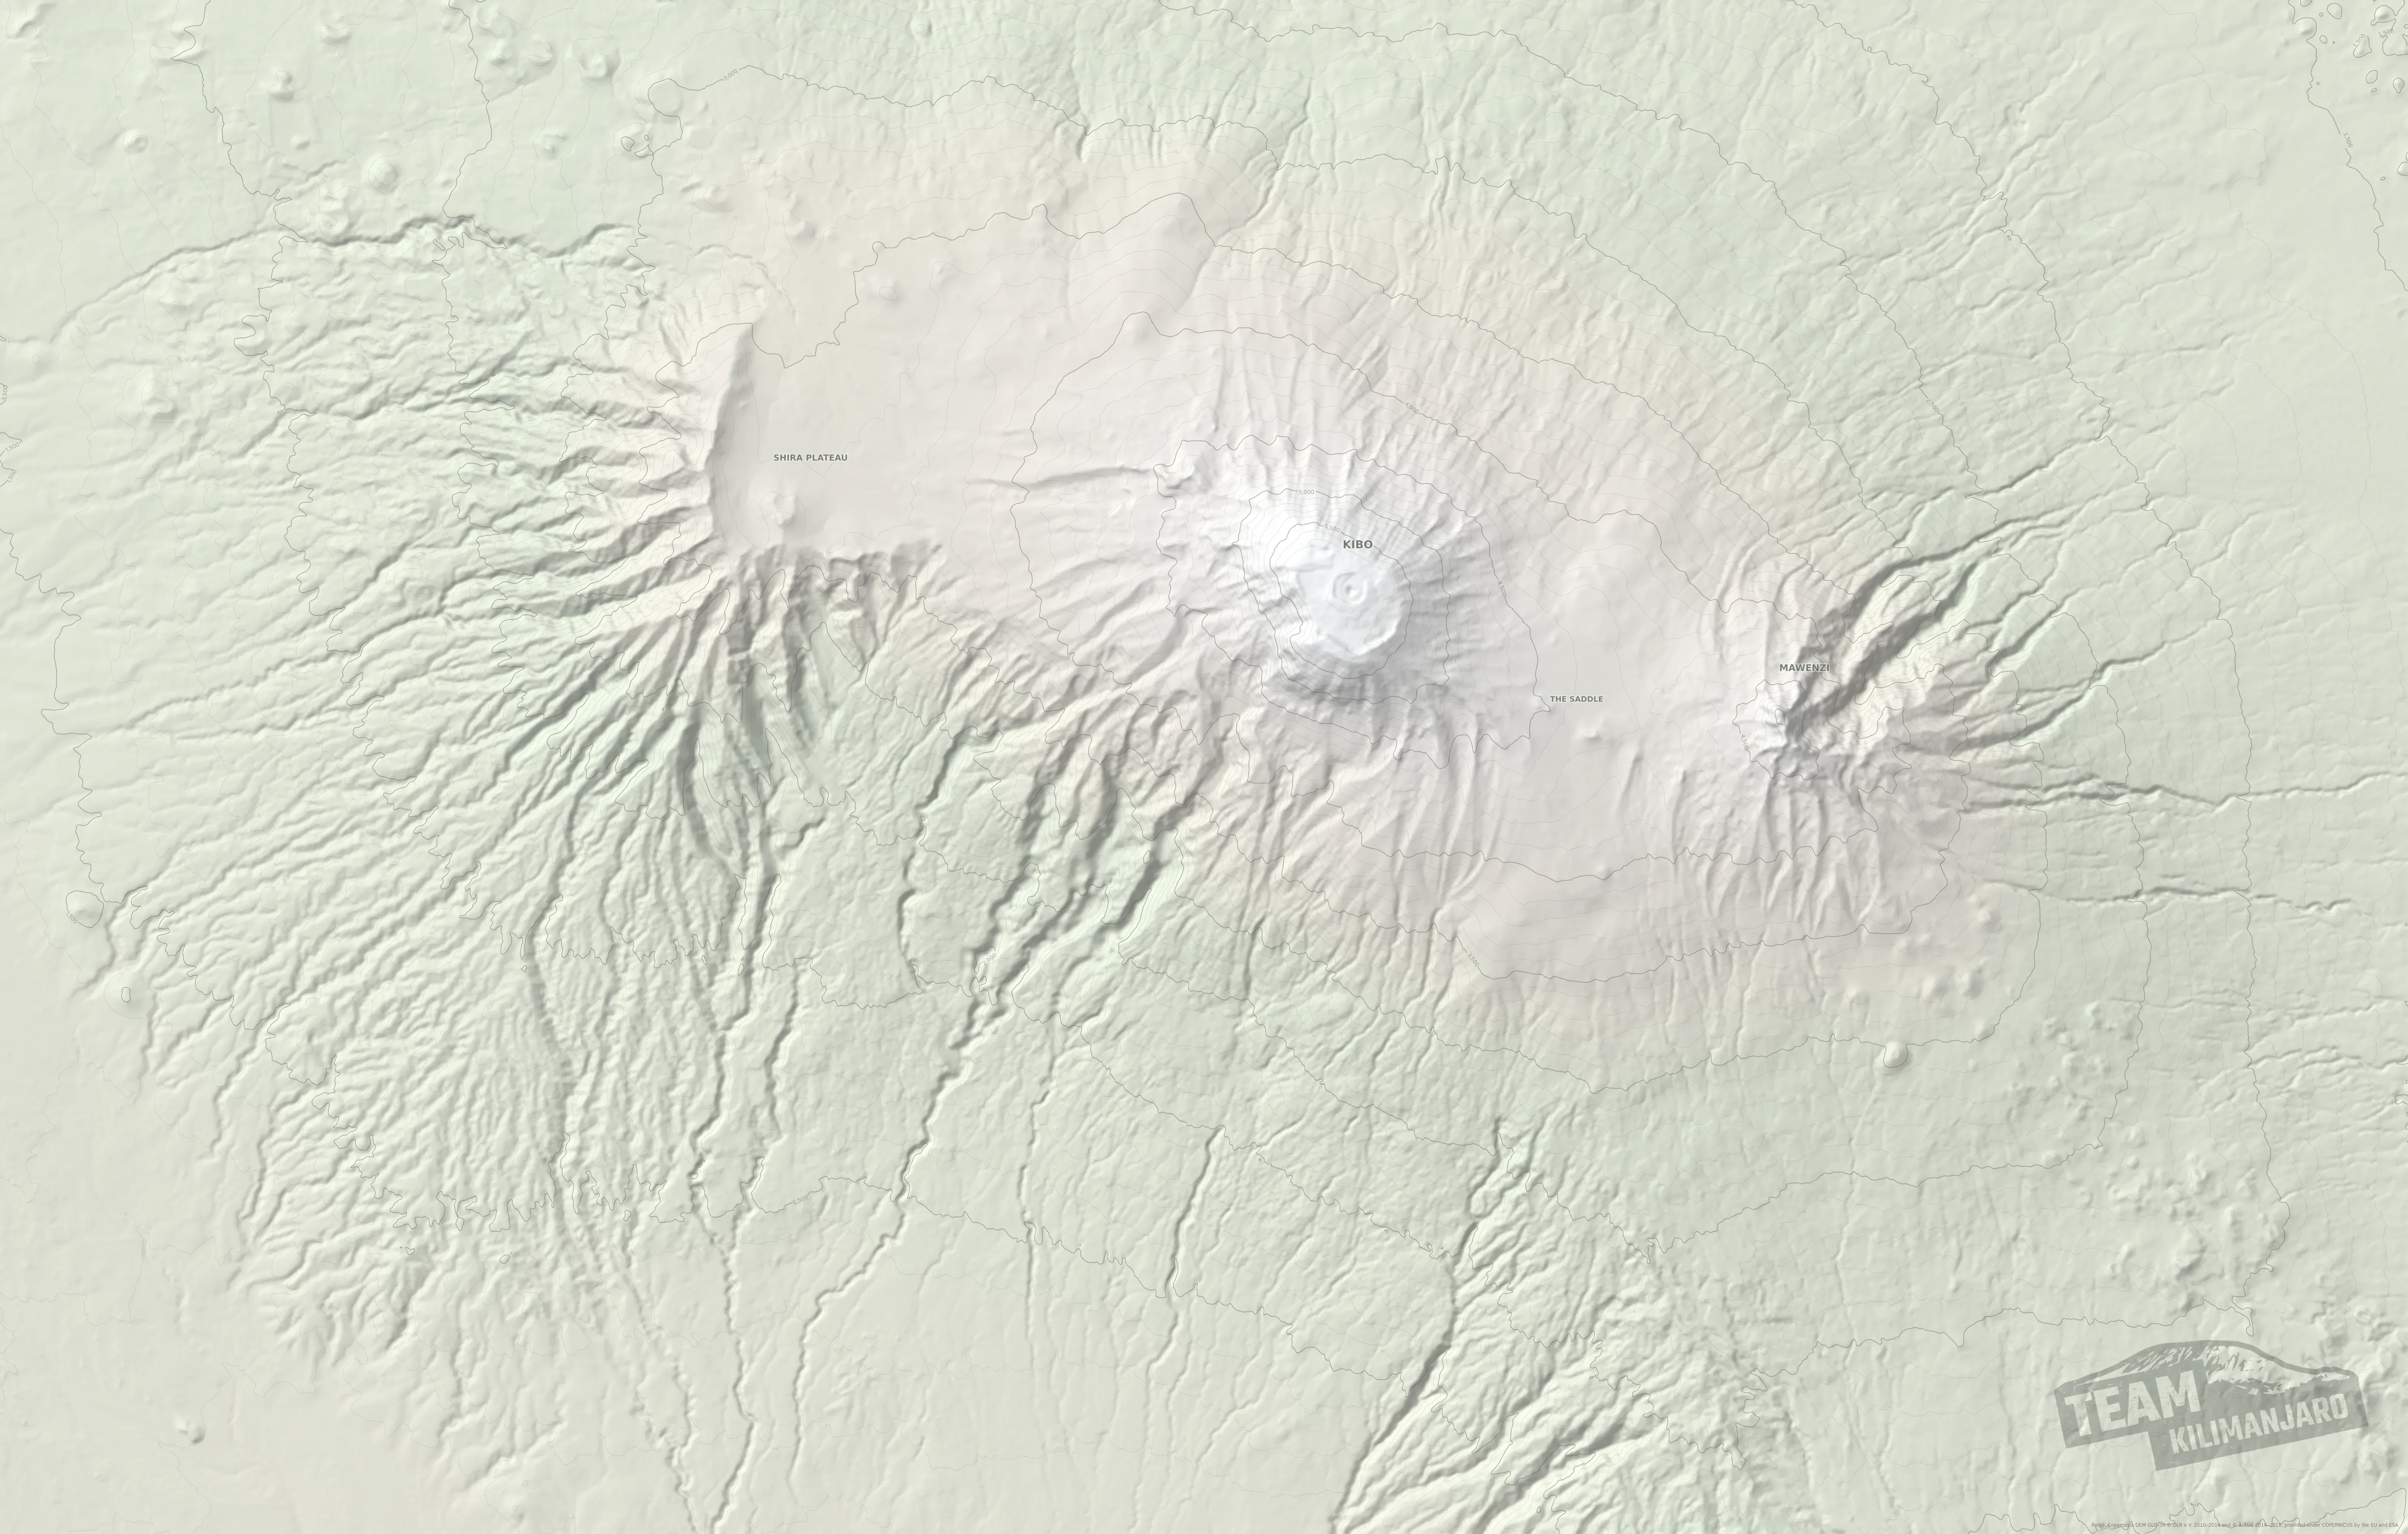
Lemosho route map
Both routes on our relief map of the mountain, with the nine-day TK Lemosho by the Shira Cathedral and the Lava Tower, and the ten-day by Mawenzi Tarn. They share the same start, then part at Shira 1 on day three. Tap a route’s name to hide or show it, and tap a line for its distance and downloads.
Day by day
Distances come from our GPS tracks. Your guide may vary the plan, as explained below.
- Day1
Lemosho Gate to Big Tree Camp
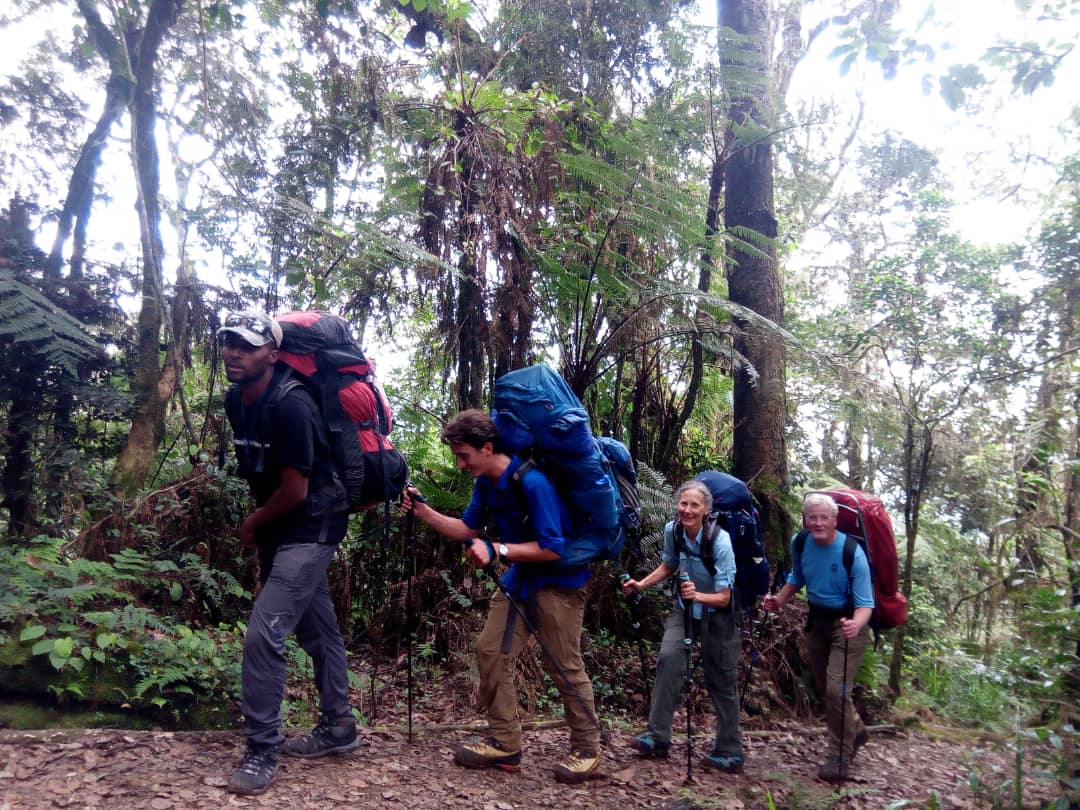
A short first day through the rainforest of the mountain’s western side, one of the quietest starts on Kilimanjaro.
- Day2
Big Tree Camp to Shira 1
Out of the forest, through giant heather and onto the Shira Plateau, with Kibo in view ahead.
- Day3
Shira 1 to Fischer’s Camp, by the Shira Cathedral
An unhurried day on the Shira Plateau. South first, to the Shira Cathedral, the rock tower on the plateau’s southern rim, with views far down the mountain’s western side; then east across the plateau and up to stop for the night at Fischer’s Camp, a quiet camp below Kibo’s western slopes, with the afternoon to rest.
- Day4
Fischer’s Camp to Moir Hut, towards the Lava Tower
Up towards the Lava Tower, then down to sleep at Moir Hut: a second climb high, sleep low, early in the climb, while your reserves are fresh and the days that follow are gentle. Everyone climbs at least to the junction short of the tower, 4,470 m, about 310 m above Moir Hut, which is already a superb climb high, sleep low and the usual choice. Your guide decides on the day, from how each climber is going, whether to continue to the foot of the Lava Tower, 4,645 m: that is 485 m above Moir Hut, at the outer edge of the difference we accept, and is only worth it for climbers who are clearly strong. From the tower you return to the junction and drop down to Moir Hut.
- Day5
Moir Hut to Pofu Camp
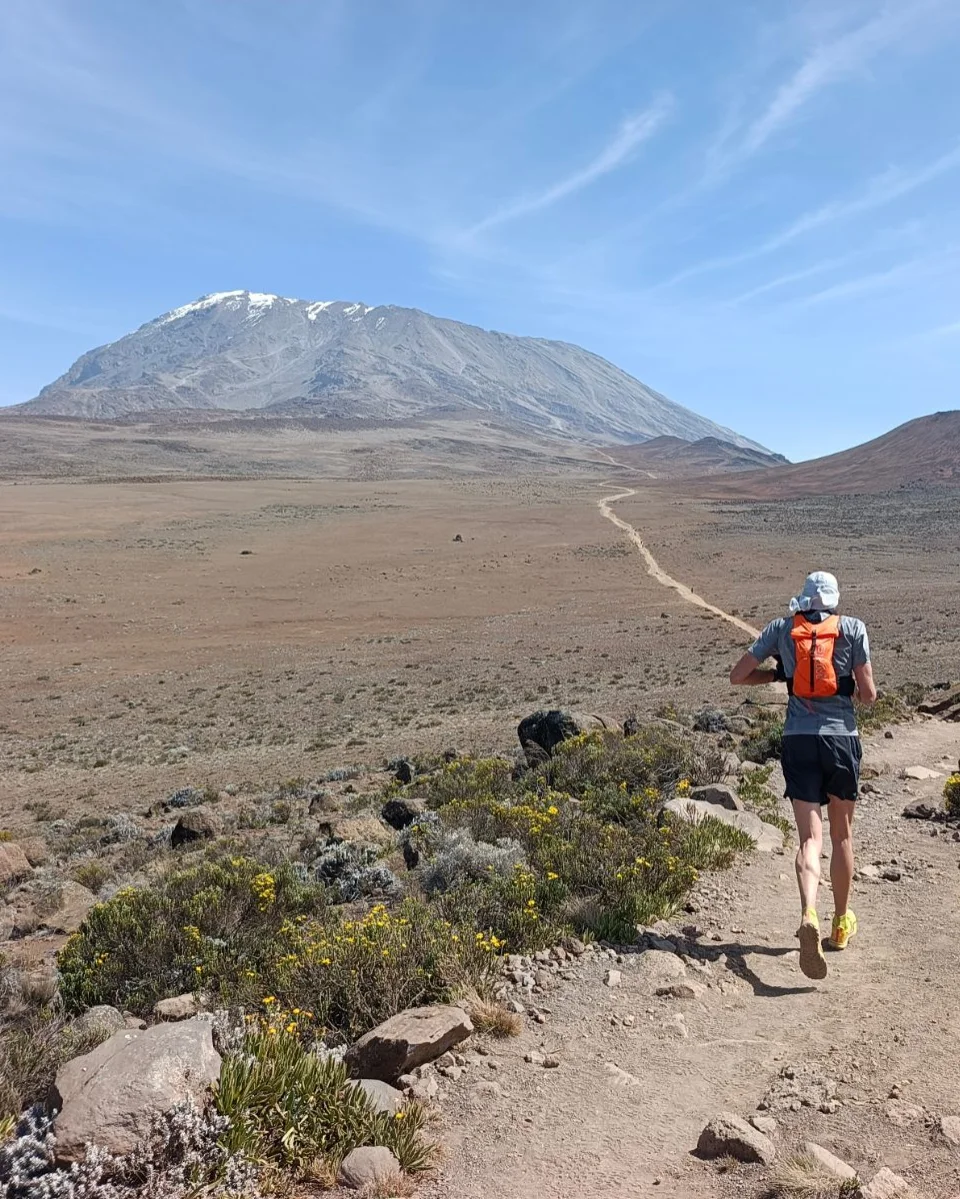
The day that makes the route. Onto the quiet northern side of Kibo, climbing to around 4,400 m before descending to sleep at Pofu, some 400 m lower: climb high, sleep low.
- Day6
Pofu Camp to Third Cave
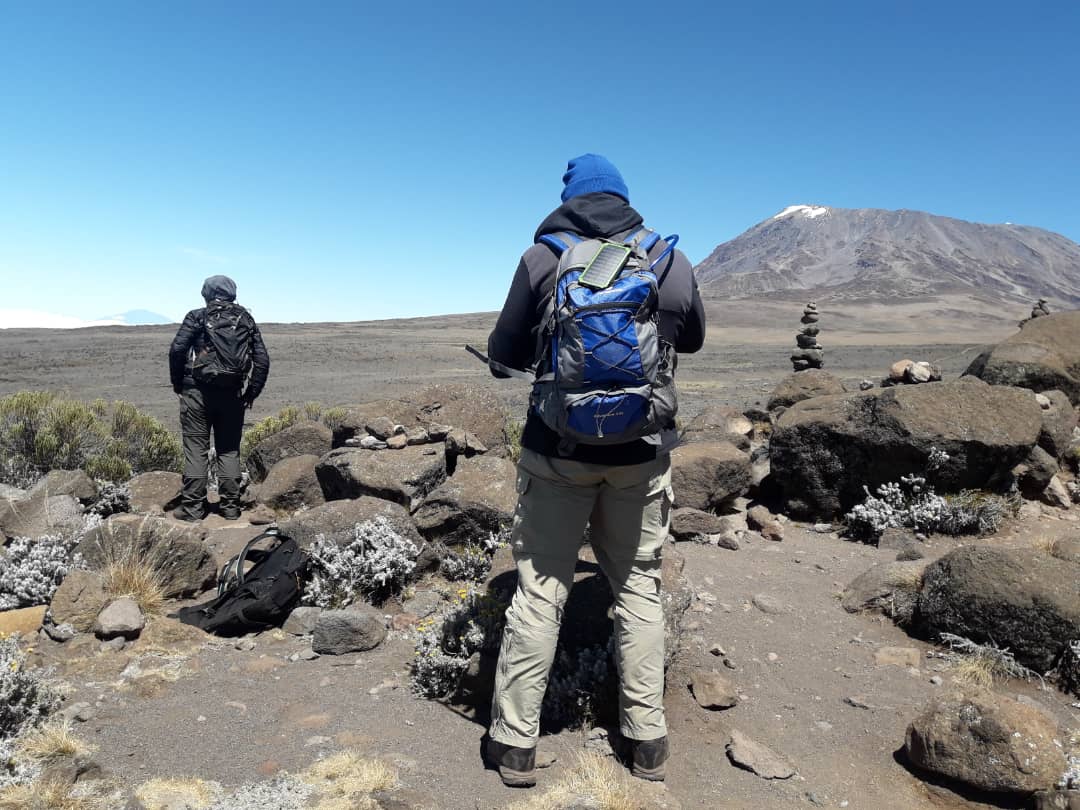
An easy traverse at almost level height, with Mawenzi’s jagged peaks ahead. A gentle day that lets your body catch up.
- Day7
Third Cave to Mawenzi Tarn
East across the saddle towards Mawenzi, to camp by the tarn beneath its jagged western face, the first night above Moir Hut. In the afternoon, at your guide’s discretion, a short walk a couple of hundred metres higher on the slopes above the tarn before you come back down to sleep: climb high, sleep low again, with the hard work of the climb still two days away.
- Day8
Mawenzi Tarn to School Hut
Back across the saddle towards Kibo: an easy first half at around 4,250 m, then a steady climb to the high camp. You arrive in good time for rest, an early meal and an early night, having reached School Hut in two moderate steps instead of one big one.
- Day9
School Hut to Uhuru Peak, down to Millennium Camp
Summit night from the north-east, reaching the crater rim and Uhuru Peak around sunrise, then down the southern side to Millennium Camp.
- Day10
Millennium Camp to Mweka Gate
Down through heath and rainforest to the gate, where your transfer is waiting.
- Day1
Lemosho Gate to Big Tree Camp
A short first day through the rainforest of the mountain’s western side, one of the quietest starts on Kilimanjaro.
- Day2
Big Tree Camp to Shira 1
Out of the forest, through giant heather and onto the Shira Plateau, with Kibo in view ahead.
- Day3
Shira 1 to Fischer’s Camp, by the Shira Cathedral
An unhurried day on the Shira Plateau. South first, to the Shira Cathedral, the rock tower on the plateau’s southern rim, with views far down the mountain’s western side; then east across the plateau and up to stop for the night at Fischer’s Camp, a quiet camp below Kibo’s western slopes, with the afternoon to rest.
- Day4
Fischer’s Camp to Moir Hut, towards the Lava Tower
Up towards the Lava Tower, then down to sleep at Moir Hut: a second climb high, sleep low, early in the climb, while your reserves are fresh and the days that follow are gentle. Everyone climbs at least to the junction short of the tower, 4,470 m, about 310 m above Moir Hut, which is already a superb climb high, sleep low and the usual choice. Your guide decides on the day, from how each climber is going, whether to continue to the foot of the Lava Tower, 4,645 m: that is 485 m above Moir Hut, at the outer edge of the difference we accept, and is only worth it for climbers who are clearly strong. From the tower you return to the junction and drop down to Moir Hut.
- Day5
Moir Hut to Pofu Camp
The day that makes the route. Onto the quiet northern side of Kibo, climbing to around 4,400 m before descending to sleep at Pofu, some 400 m lower: climb high, sleep low.
- Day6
Pofu Camp to Third Cave
An easy traverse at almost level height, with Mawenzi’s jagged peaks ahead. A gentle day that lets your body catch up.
- Day7
Third Cave to School Hut
A short, steady climb to the high camp, arriving early. Rest, an early meal and an early night.
- Day8
School Hut to Uhuru Peak, down to Millennium Camp
Summit night from the north-east, reaching the crater rim and Uhuru Peak around sunrise, then down the southern side to Millennium Camp.
- Day9
Millennium Camp to Mweka Gate
Down through heath and rainforest to the gate, where your transfer is waiting.
- Day1
Lemosho Gate to Big Tree Camp
A short first day through the rainforest of the mountain’s western side, one of the quietest starts on Kilimanjaro.
- Day2
Big Tree Camp to Shira 1
Out of the forest, through giant heather and onto the Shira Plateau, with Kibo in view ahead.
- Day3
Shira 1 to Moir Hut
Across the plateau to Moir Hut. This is where the routes part: the standard Lemosho route heads east to Shira 2 to join Machame, while TK Lemosho heads north.
- Day4
Moir Hut to Pofu Camp
The day that makes the route. Onto the quiet northern side of Kibo, climbing to around 4,400 m before descending to sleep at Pofu, some 400 m lower: climb high, sleep low.
- Day5
Pofu Camp to Third Cave
An easy traverse at almost level height, with Mawenzi’s jagged peaks ahead. A gentle day that lets your body catch up.
- Day6
Third Cave to School Hut
A short, steady climb to the high camp, arriving early. Rest, an early meal and an early night.
- Day7
School Hut to Uhuru Peak, down to Millennium Camp
Summit night from the north-east, reaching the crater rim and Uhuru Peak around sunrise, then down the southern side to Millennium Camp.
- Day8
Millennium Camp to Mweka Gate
Down through heath and rainforest to the gate, where your transfer is waiting.
- Day1
Lemosho Gate to Big Tree Camp
A short first day through the rainforest of the mountain’s western side, one of the quietest starts on Kilimanjaro.
- Day2
Big Tree Camp to Shira 1
Out of the forest, through giant heather and onto the Shira Plateau, with Kibo in view ahead.
- Day3
Shira 1 to Moir Hut
Across the plateau to Moir Hut. This is where the routes part: the standard Lemosho route heads east to Shira 2 to join Machame, while TK Lemosho heads north.
- Day4
Moir Hut over the northern circuit to Third Cave
The long day that makes the seven-day route. Onto the quiet northern side of Kibo, climbing to around 4,400 m, past Pofu and on to sleep at Third Cave, some 440 m below the day’s high point: climb high, sleep low.
- Day5
Third Cave to School Hut
A short, steady climb to the high camp, arriving early. Rest, an early meal and an early night.
- Day6
School Hut to Uhuru Peak, down to Millennium Camp
Summit night from the north-east, reaching the crater rim and Uhuru Peak around sunrise, then down the southern side to Millennium Camp.
- Day7
Millennium Camp to Mweka Gate
Down through heath and rainforest to the gate, where your transfer is waiting.
- Day1
Lemosho Gate to Big Tree Camp
After registering at Londorossi Gate, a drive round to the Lemosho trailhead, then a short first walk through the rainforest of the mountain’s western side, one of the quietest starts on Kilimanjaro.
- Day2
Big Tree Camp to Shira 1
Out of the forest, through giant heather and onto the Shira Plateau, with Kibo in view ahead.
- Day3
Shira 1 to Shira 2
An easy walk east across the open plateau, with Kibo growing ahead. Shira 2 is still quiet: next morning, near Shira Cave Camp, the route joins climbers coming up from Machame, and from the Lava Tower onwards the trail and camps are busier. In the afternoon we usually walk a couple of hundred metres higher to help you sleep and acclimatise.
- Day4
Shira 2 to Barranco, via the Lava Tower
A hard day. Up to the foot of the Lava Tower for lunch, the highest point so far, then down to sleep at Barranco, 670 m lower. Climbing high and sleeping lower helps you acclimatise, but it is a long day close to the summit bid, so we keep the pace steady to save your strength for the days ahead.
- Day5
Barranco to Barafu, via Karanga
A long, tiring day. First the Barranco Wall, 245 m of scrambling, easier than it looks, with one stride around an outcrop of rock; if you are nervous of it, a member of our crew stands on the ledge below to guide your feet. Then three rises and falls to lunch at Karanga (4,035 m), and 640 m up to the high camp at Barafu.
- Day6
Rest and acclimatisation at Barafu
A day to sleep, eat, drink and recover your reserves, with a short excursion, at your guide’s discretion, no higher than 5,000 m: enough to fine-tune your acclimatisation and see the ridge you will climb that night.
- Day7
Barafu to Uhuru Peak, then Millennium Camp
Summit night starts around midnight, at the time your guide judges best for your pace: up the ridge to Stella Point (5,756 m) on the crater rim, ideally around sunrise, then about an hour more to Uhuru Peak. Back to Barafu for a rest and refreshments, then down to Millennium Camp.
- Day8
Millennium Camp to Mweka Gate
Down through heath and rainforest to the gate, where you sign the summit register, then a short walk to meet our vehicle and the drive back to Arusha.
- Day1
Lemosho Gate to Big Tree Camp
After registering at Londorossi Gate, a drive round to the Lemosho trailhead, then a short first walk through the rainforest of the mountain’s western side, one of the quietest starts on Kilimanjaro.
- Day2
Big Tree Camp to Shira 1
Out of the forest, through giant heather and onto the Shira Plateau, with Kibo in view ahead.
- Day3
Shira 1 to Shira 2
An easy walk east across the open plateau, with Kibo growing ahead. Shira 2 is still quiet: next morning, near Shira Cave Camp, the route joins climbers coming up from Machame, and from the Lava Tower onwards the trail and camps are busier. In the afternoon we usually walk a couple of hundred metres higher to help you sleep and acclimatise.
- Day4
Shira 2 to Barranco, via the Lava Tower
A hard day. Up to the foot of the Lava Tower for lunch, the highest point so far, then down to sleep at Barranco, 670 m lower. Climbing high and sleeping lower helps you acclimatise, but it is a long day close to the summit bid, so we keep the pace steady to save your strength for the days ahead.
- Day5
Barranco to Barafu, via Karanga
A long, tiring day. First the Barranco Wall, 245 m of scrambling, easier than it looks, with one stride around an outcrop of rock; if you are nervous of it, a member of our crew stands on the ledge below to guide your feet. Then three rises and falls to lunch at Karanga (4,035 m), and 640 m up to the high camp at Barafu.
- Day6
Barafu to Uhuru Peak, then Millennium Camp
Summit night starts around midnight, at the time your guide judges best for your pace: up the ridge to Stella Point (5,756 m) on the crater rim, ideally around sunrise, then about an hour more to Uhuru Peak. Back to Barafu for a rest and refreshments, then down to Millennium Camp.
- Day7
Millennium Camp to Mweka Gate
Down through heath and rainforest to the gate, where you sign the summit register, then a short walk to meet our vehicle and the drive back to Arusha.
Add a night in the crater
Every route we run, Lemosho included, can be lengthened by one day to sleep inside the summit crater at Crater Camp, 5,725 m. This is our Excel Series, and it turns the summit into the start of a day and a half on the roof of Africa rather than a few minutes before the descent.
Our GPS track of the whole crater excursion, every option included: 9.8 km from Uhuru Peak to Stella Point.
- Summitday
Uhuru Peak, Furtwängler Point and down into the crater
From the summit we carry on about 200 m along the rim to Furtwängler Point, then drop into the crater to rest at Crater Camp. Climbers in good form walk to the top of the Western Breach, about 1.0 km there and back, to watch the sun set over Mount Meru, and explore the south face of the Furtwängler Glacier, which is shrinking fast and will not be there much longer.
- Craterday
The Reusch Ash Pit and the Northern Icefields
In the morning we climb to the rim of the Reusch Ash Pit and, if there is time, walk all the way round it. The strongest climbers also explore the Northern Icefields before finishing the circuit. Then back to Stella Point and down to Barafu.
Lemosho prices
The same price for the standard route and TK Lemosho. Advantage series, our most popular level of support; per person in US dollars, depending on the size of your booking group.
Lemosho or TK Lemosho, 8 days
From
USD 2,887per person, group of 8
- 2 climbersUSD 3,169
- Solo, joining a groupUSD 3,169
- Solo, private climbUSD 3,651
Lemosho or TK Lemosho, 7 days
From
USD 2,548per person, group of 8
- 2 climbersUSD 2,807
- Solo, joining a groupUSD 2,807
- Solo, private climbUSD 3,260
TK Lemosho over nine days, with the extra day on the Shira Plateau: USD 3,531 per person for two climbers, from USD 3,226 in a group of eight. Over ten days, with the night at Mawenzi Tarn: USD 3,893 per person for two climbers, from USD 3,565 in a group of eight.
Questions about the Lemosho route
How long is the Lemosho route?
Seven or eight days, or nine or ten on TK Lemosho, and 64.7 km gate to gate; TK Lemosho is 66.4 km.
Measured from our GPS tracks, including the descent to Mweka Gate. The standard route is 64.7 km and TK Lemosho 66.4 km. The extra distance on TK Lemosho is the quiet northern circuit, spread over the same number of days.
Lemosho or Machame?
Lemosho starts higher and quieter, and costs a little more.
Lemosho starts at 2,385 m on the western side and spends two quiet days in the forest and on the Shira Plateau, while Machame climbs from 1,820 m on the busier south side. From the morning after Shira 2 the two routes share the same trail, camps and summit night. Lemosho needs a seventh or eighth day, which is why it costs a little more. The Machame route
How difficult is the Lemosho route?
The first days are gentle; summit night is the hard part.
The trail is a walk, with no climbing skills needed. The Barranco Wall is a short scramble, easier than it looks, with a member of our crew on hand at its one awkward step. What makes any Kilimanjaro route hard is the altitude and summit night, which starts around midnight and climbs about 1,200 m to the crater rim.
What is the success rate on Lemosho?
It depends on how the days are spent, more than on the route’s name.
Acclimatisation has to be balanced against the stamina you will need for summit night. Lemosho’s extra days help, but the long day to the Lava Tower and the height lost in the Karanga Valley both come close to the summit bid, which is why we built TK Lemosho. Across all our routes, 97.6% of our climbers reach the summit. Which route is best, and why
Is the Lemosho route crowded?
Quiet for two days, then busier.
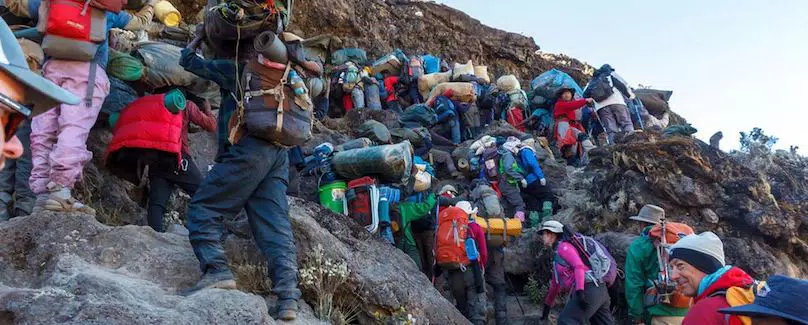
Lemosho Gate is one of the quietest starts on the mountain. From the Lava Tower onwards the route shares Machame’s trail and camps, which are among the busiest on Kilimanjaro in the northern summer. TK Lemosho heads north to Moir Hut on day three instead and stays quiet to the summit.
Where does the Lemosho route start?
On the western side of the mountain.
You register at Londorossi Gate, then drive round to the Lemosho trailhead at 2,385 m, where the walk begins. We collect you from your hotel in Arusha.
Will my guide change the plan?
Sometimes, for crowding, water, your group’s pace and the weather.
The aim is the best acclimatisation your group can achieve without exhausting the reserves anyone will need for the summit. That depends on expected crowding at particular camps, how much water is available, the condition and pace of your group, and the weather.
What happens if part of the route is closed?
A different start can join TK Lemosho further on.
In October 2026, forest fires near Big Tree Camp closed the opening section. Climbs started instead from Machame Gate and joined TK Lemosho at Moir Hut on day 3, keeping the rest of the plan unchanged. See how TK Machame works
Can I download the Lemosho route as GPX or KML?
Yes, both routes, in both formats.
Use the downloads below the map, or tap a route on the map. Most GPS watches and hiking apps take GPX; Google Earth and some apps prefer KML.
Why climbers trust us with the mountain
Climb Lemosho with us
Tell us your dates and group size and we will plan the climb with you, including which version of Lemosho and how many days suit your group.
Plan my climb